DIY Wedding Photo Booth in 3 Easy Steps
Posted by Half Price Banners on Feb 11th 2020
Take it from us — your big day is going to go by fast. Like, really fast. Before you know it, the cake will be eaten, your guests will be gone and it will be time to start sweeping up the confetti. Sure, you probably hired a photographer, but you might not see those pictures for weeks. Why not create a custom photo booth that gives you a way to look back on your wedding the very next day and doubles as great entertainment for your guests?
Here’s how to quickly set up a great looking DIY photo booth without the help of a professional photographer in three easy steps.
1. Lights, Camera...
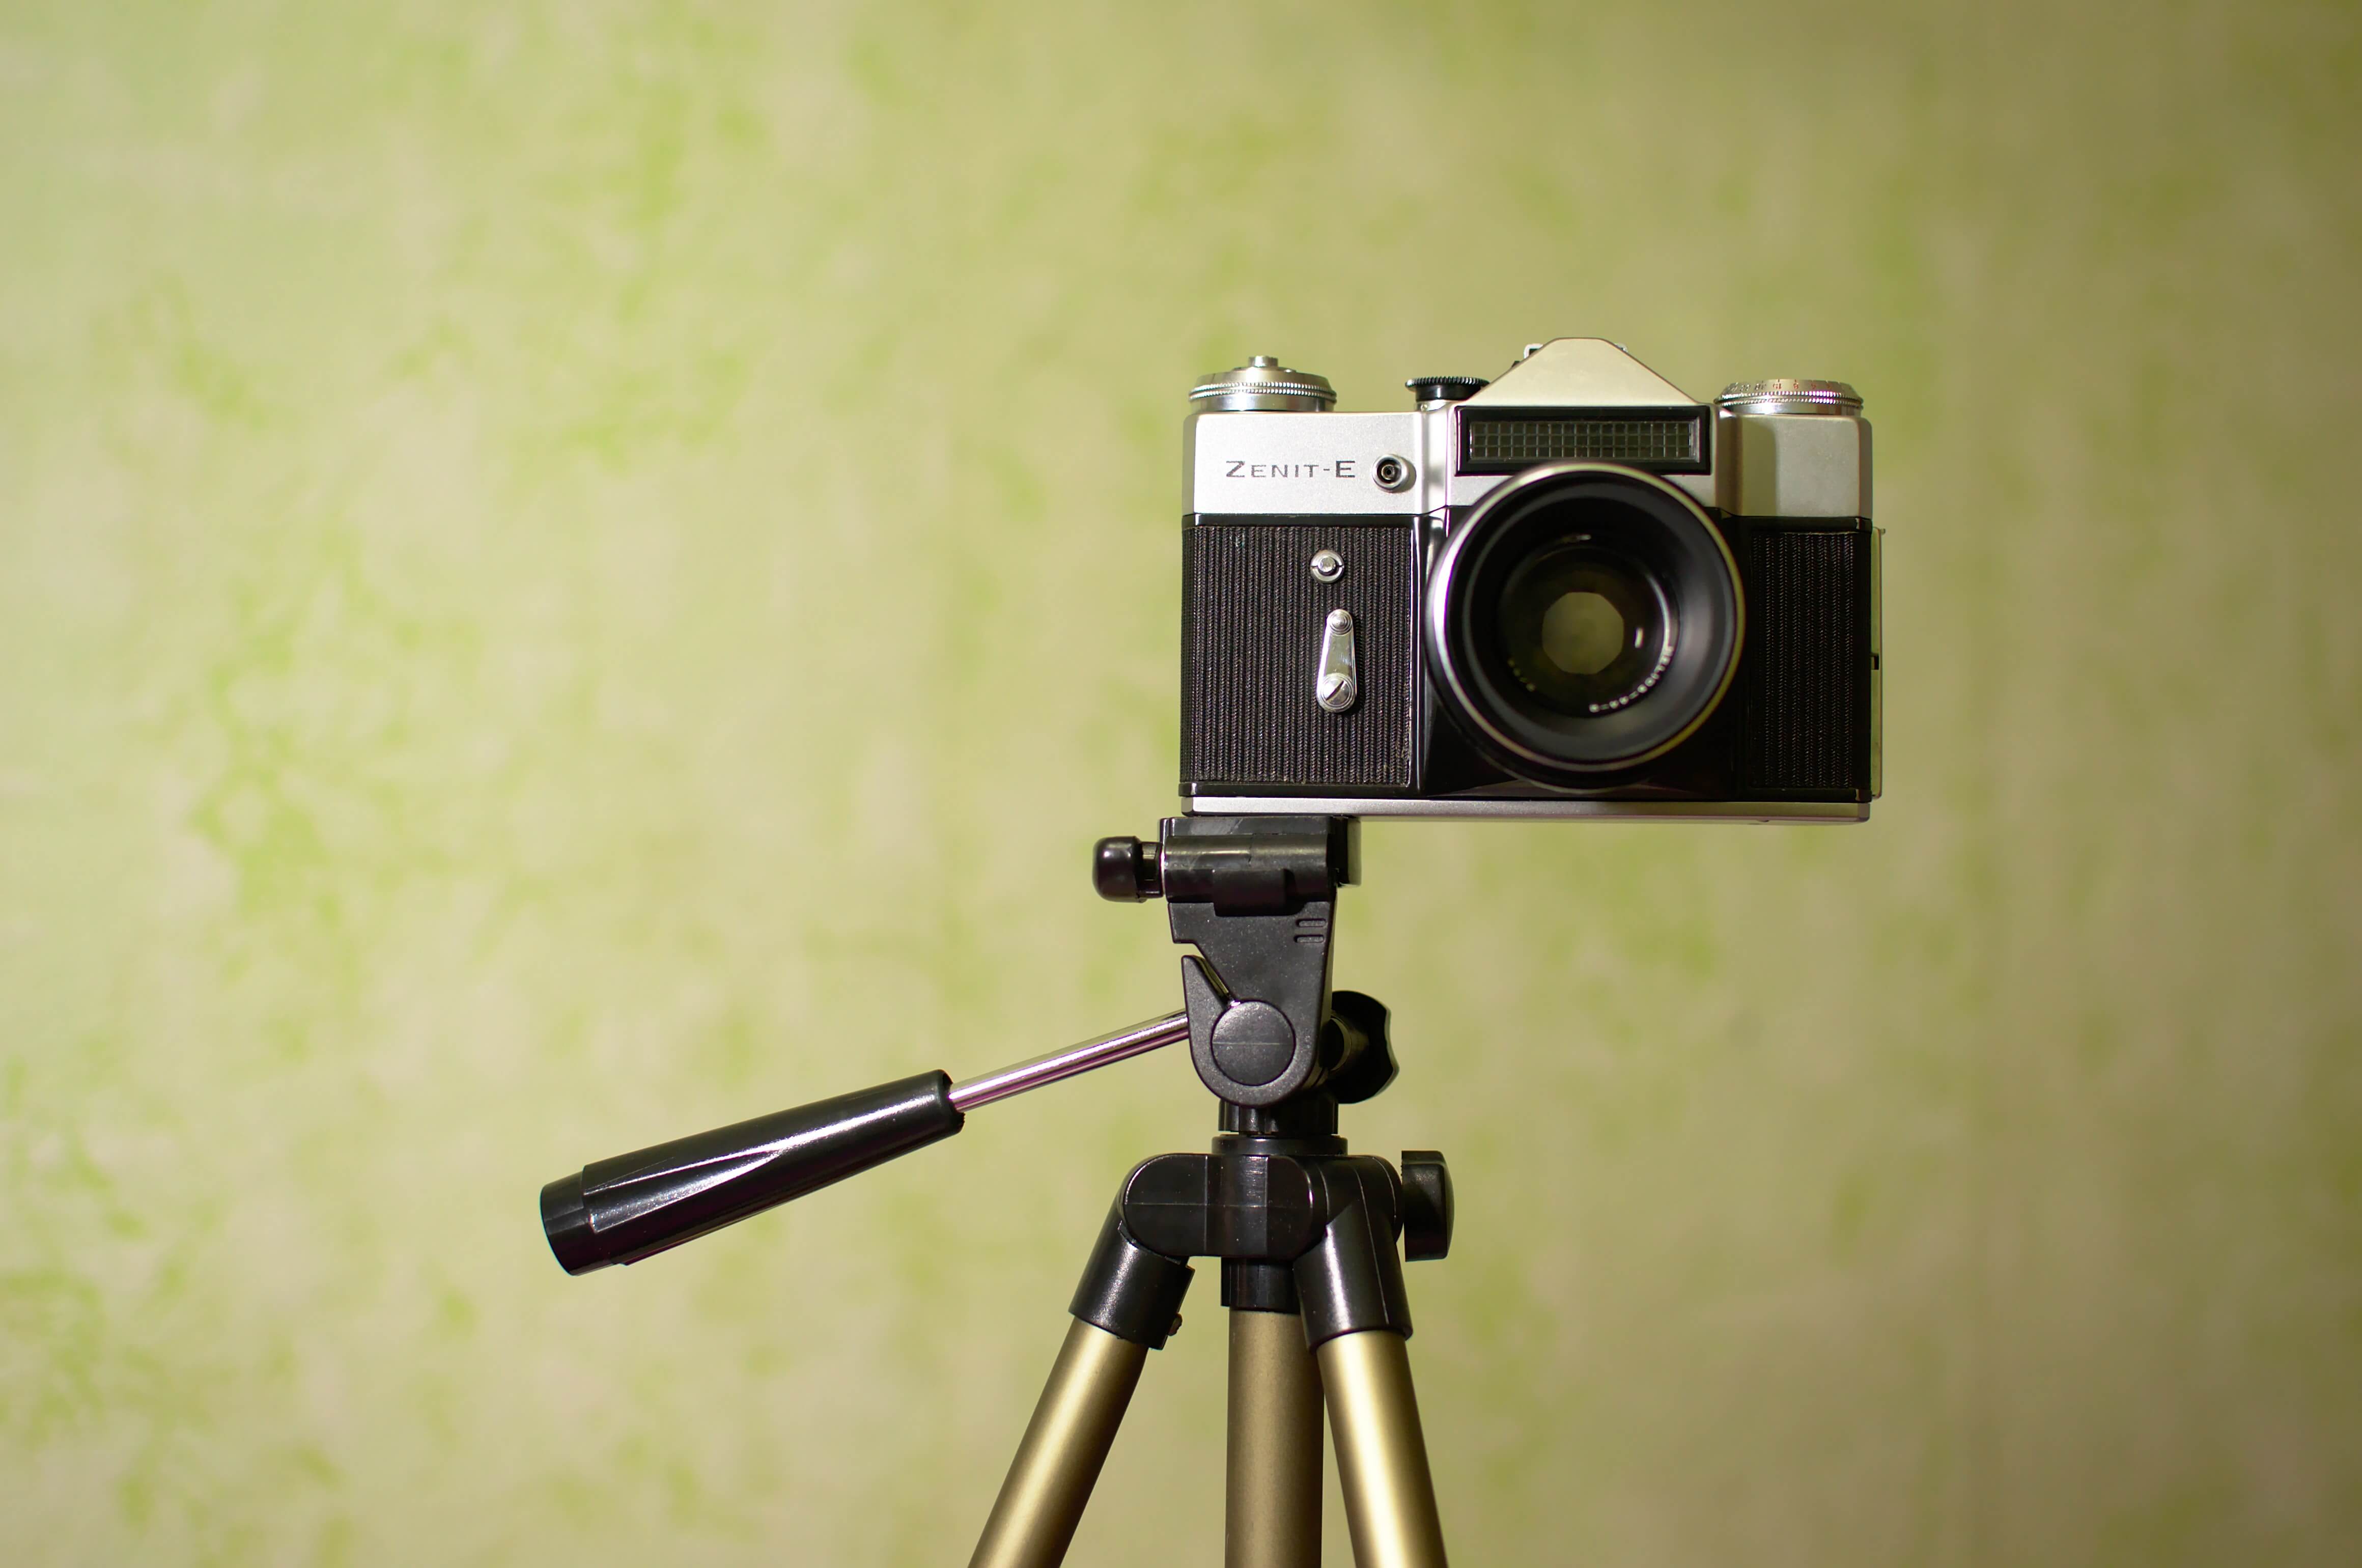
First things first: you need a camera! If you’ve already got a DSLR or smartphone that can be set aside for pictures, you’re pretty much good to go! You can’t go wrong with this all-in-one ring light and tripod for a super easy setup and professional-looking photos. You could also consider buying an instant camera that immediately develops the photos for your guests. Of course, you might never see the pictures if your friends and family take them home without showing you first! That’s why we recommend the Polaroid Snap instant digital camera if you end up going this route. It instantly develops pictures and saves a digital copy to an SD card. The 10 megapixel sensor gives you plenty of quality while adding that vintage Polaroid look to your photos.
2. Backdrop
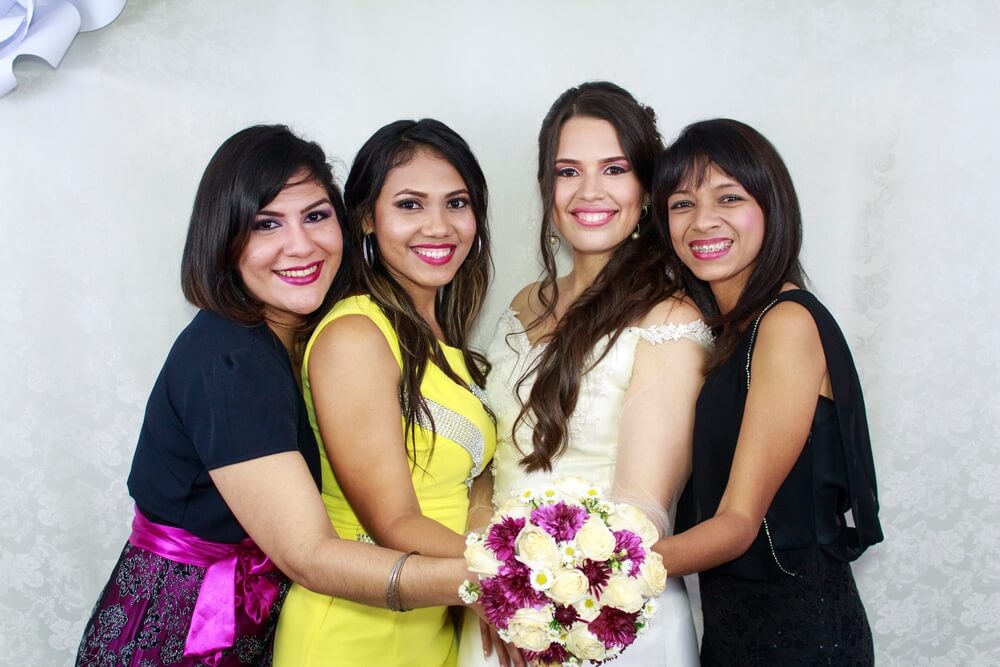
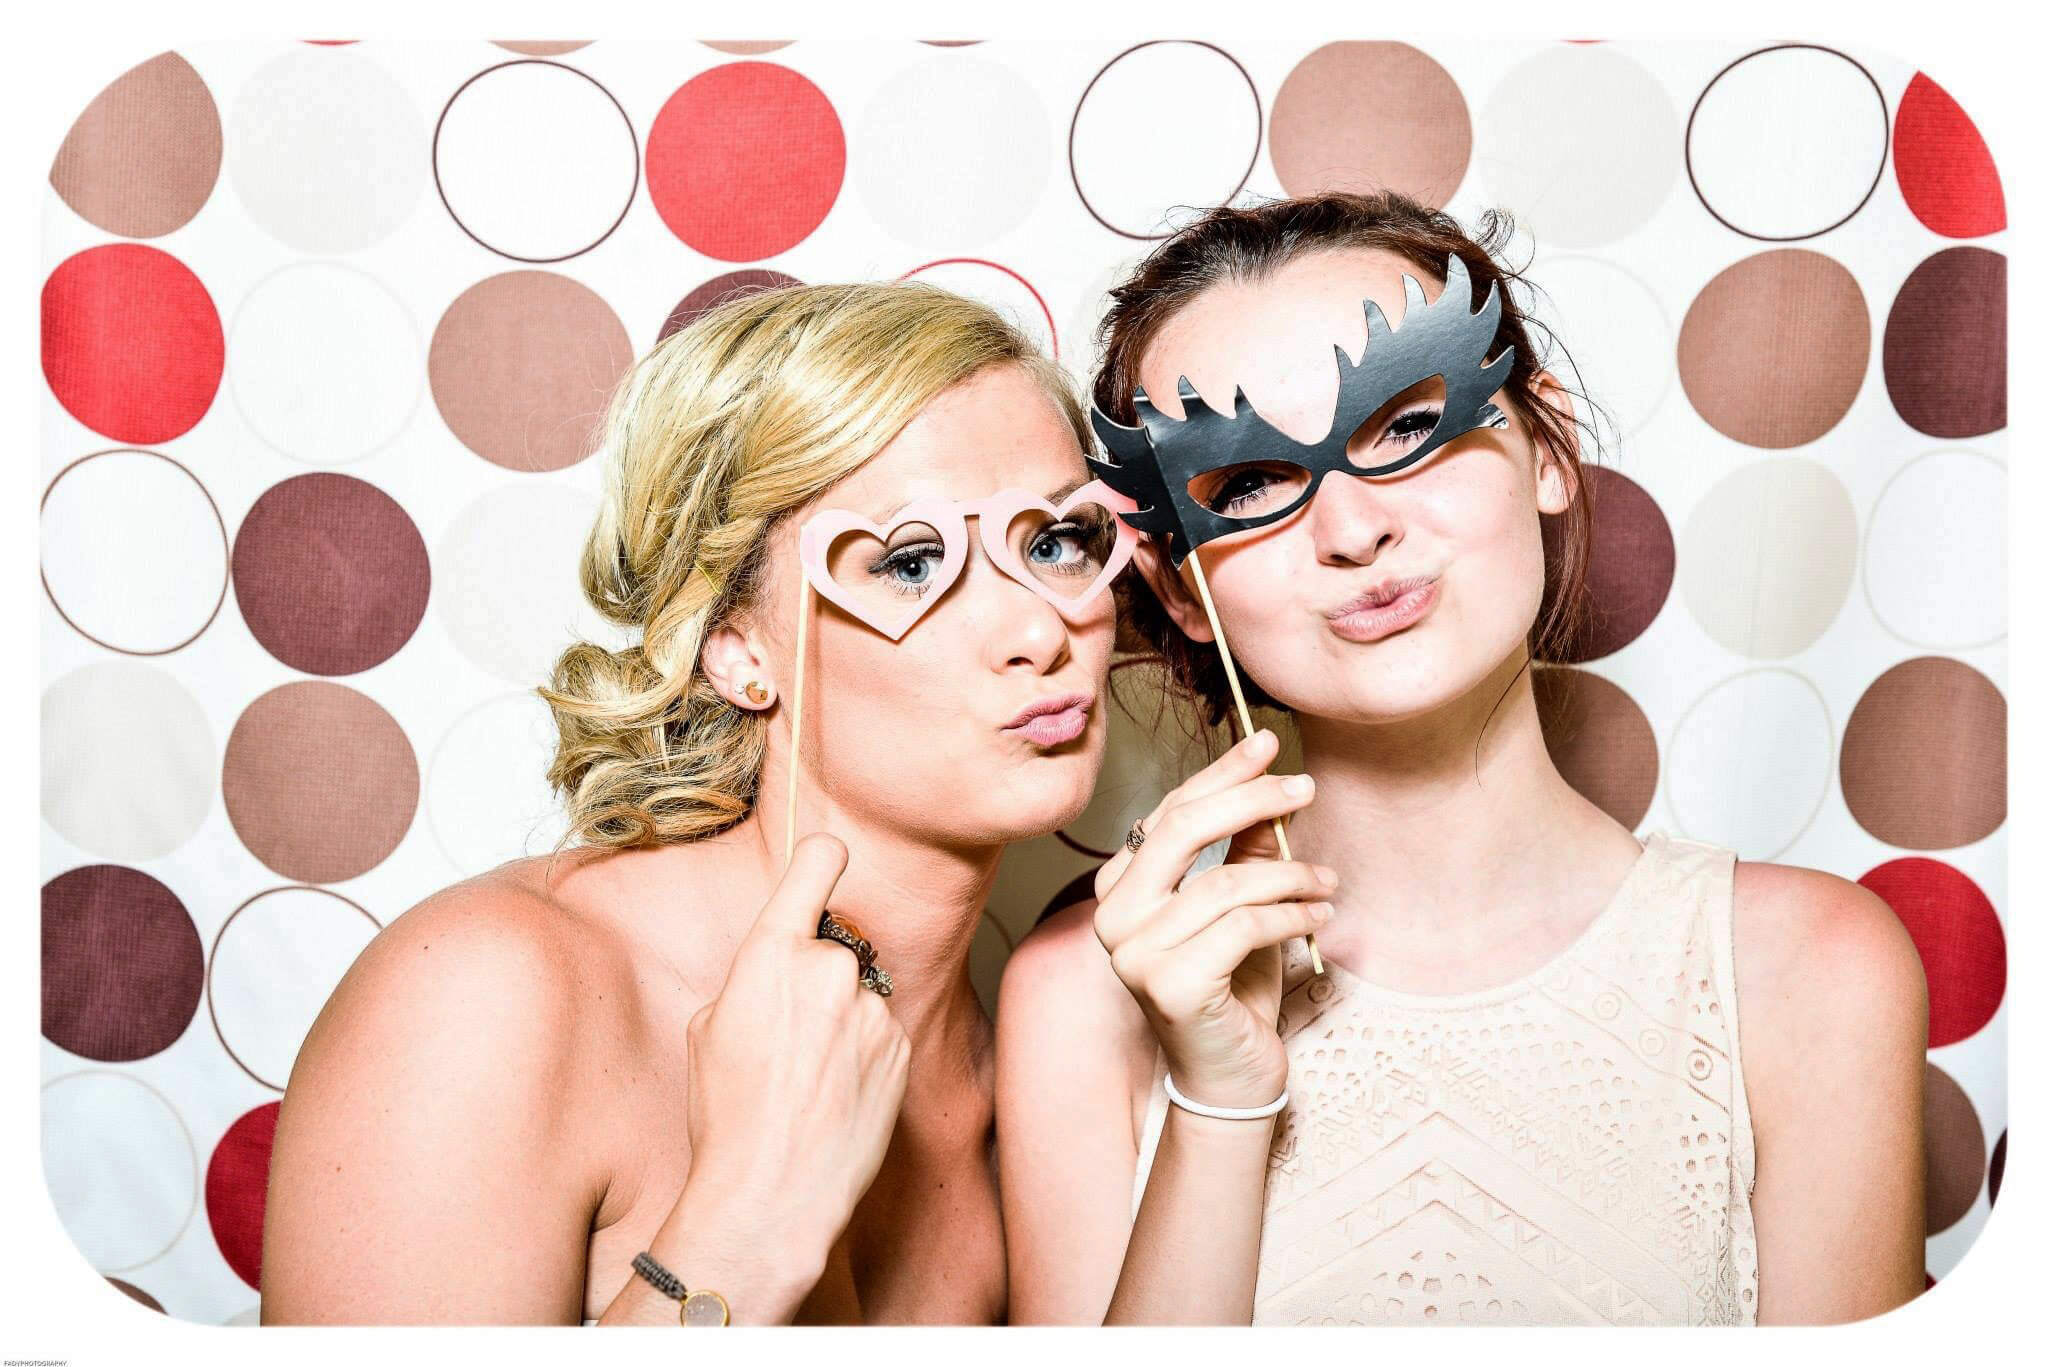
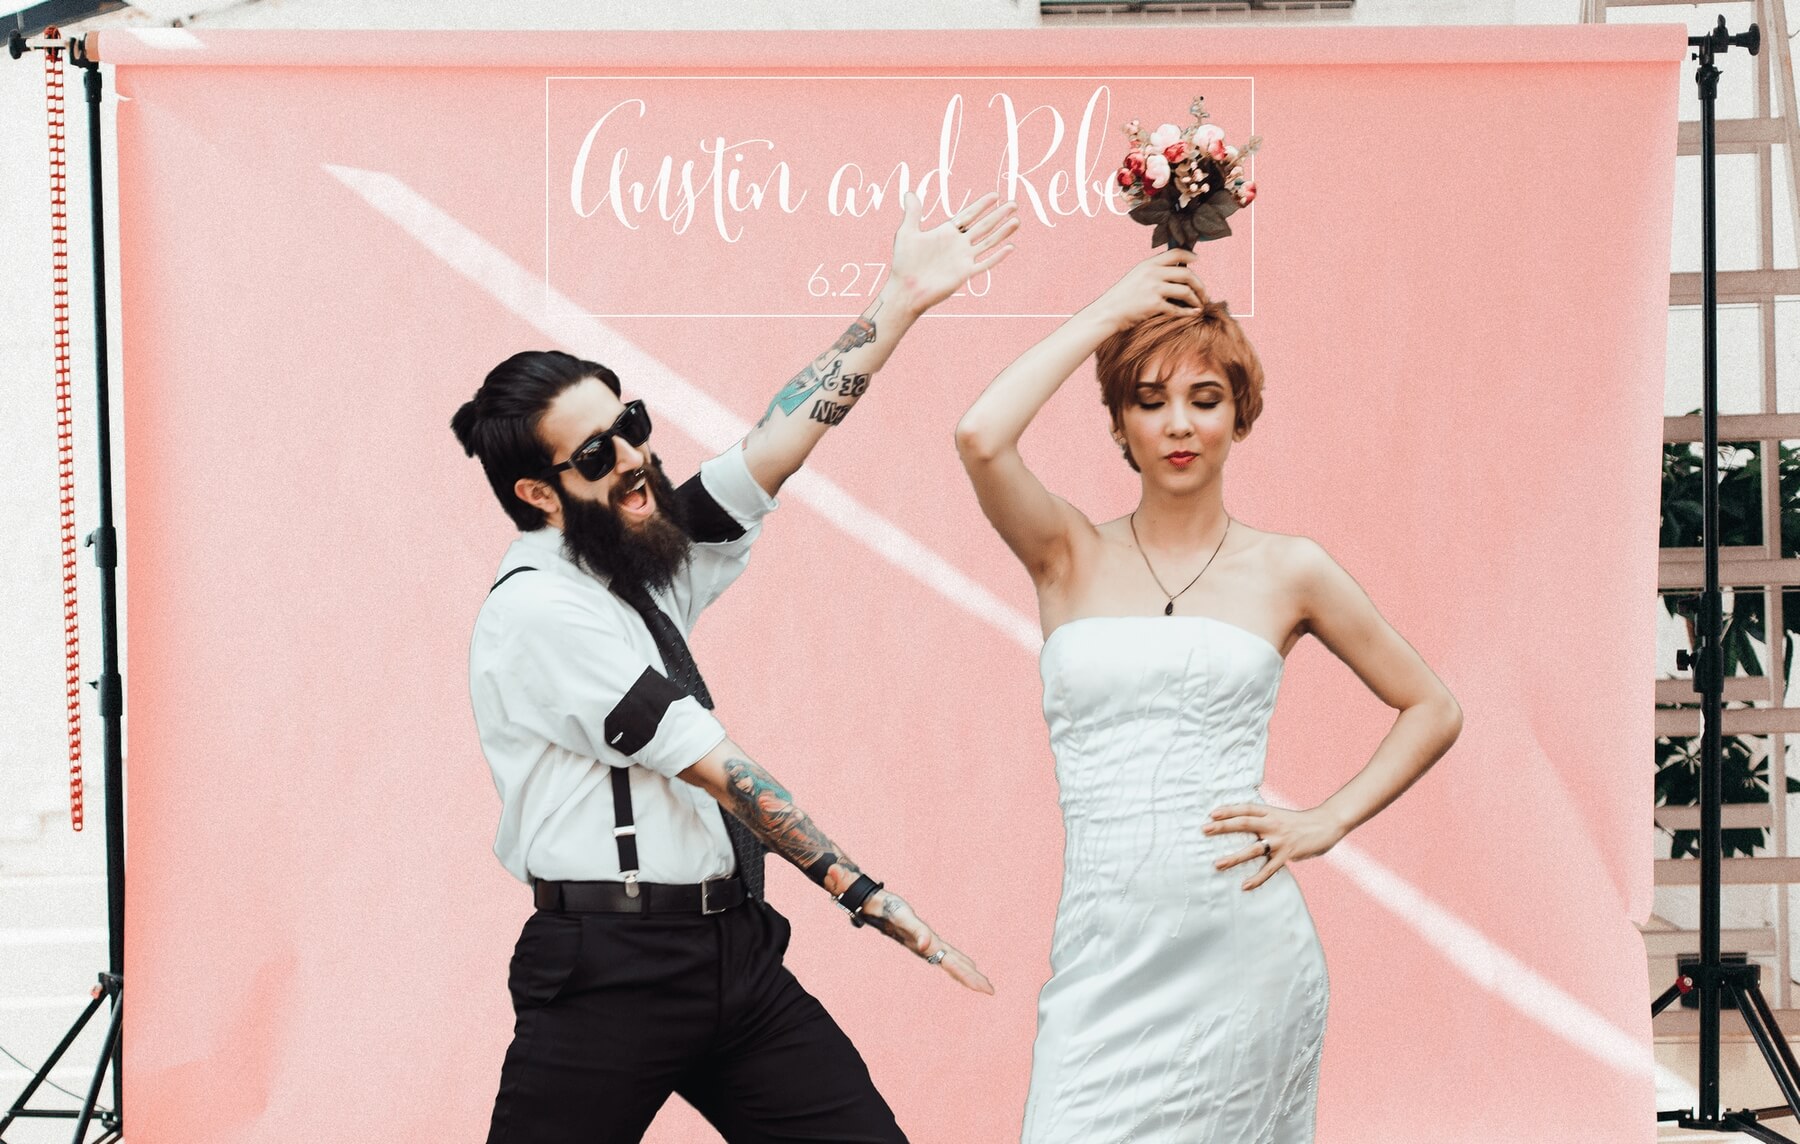
Next, you’ll need a background for your photo booth. Be wary of shiny surfaces like vinyl — this material is too reflective and will cause undesirable 'hot spots' in your photos. For best results, we recommend fabric banners (at least 6 feet, preferably higher if you’ve got taller guests!). Just add your names and the wedding date to the backdrop to make it your own!
Pro Tip: If you want to hang your banner from a backdrop stand like this one, request pole pockets at the top of your banner when you upload your design file.
Want a really professional-looking display? Consider buying a tension fabric backdrop instead. This pop-up banner comes with its own hardware and can be assembled in no time.
3. Action!
You’ve got your lights, your camera and your wedding backdrop — you’re almost ready to go! Here are a few more things to consider before setting up your photo booth. If you’ve got a wedding hashtag, make sure it’s easily visible so people can use it when they post photos to social media. You can add it to your photo backdrop or set a retractable banner close by to make sure everyone knows what it is. And don’t forget props! You can buy some off Etsy or have a crafty friend help make a few. After all, what’s a wedding photo booth without fake top hats and faux-mustaches?
One last thing: we know this is a “DIY” project, but try to get a family member or friend to set the photo booth up on the day of your wedding. You’ve already done all the planning — instead, put aside some extra time for makeup, hanging out with your close friends, or just relaxing and taking a few deep breaths before you say “I do.” As easy as this setup is, you’ll appreciate a few extra moments to enjoy your big day.